Make elegant web interfaces in minutes.
Webknife is a web user interface framework for rapid design on the client side.
Ships with normalize.css for consistent default styles across browsers.
A gridless framework that still provides support for layouts, alignment, and positioning.
Structure your site with built-in tabs, breadcrumbs, and pagination.
Consistent inputs, buttons, and forms. Includes a datepicker, CAPTCHA, and multiselect.
Fixed or flexible width tables, with word-wrap, zebra shading, and icon cells included.
SVG injection allows icons to be scaled and styled with CSS, without the pain of inline SVG.
Add borders, shadows, and corners to images. Support for image captions.
Includes a jQuery plugin that adds animated modal dialog windows for dynamic interfaces.
Use Highlight.js for code syntax highlighting, with automatic language detection.
Ships with jQuery, and Moment.js.
Customize, configure, and minify with a sass, node and gulp asset pipeline.
Tested in Internet Explorer 9+, and the latest versions of Chrome, Firefox, and Safari.
Webknife provides an HTML5, CSS3 and JavaScript component library for building any modern web application.
Webknife is server-side agnostic and will work with any backend framework. There are two ways to use Webknife in a project:
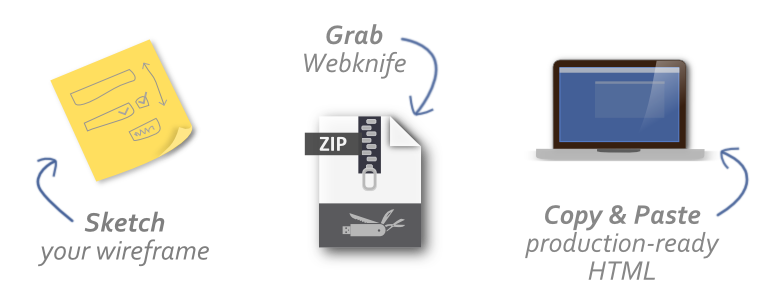
To use pre-built Webknife:
Download a copy of the framework, and keep the framework directory as part of your project.
Edit template.html (a blank canvas for any new web pages). Copy and paste from reference.html (production-tested HTML snippets).
Attach other stylesheets and further customise pages. Publish your web project.
The key point is to attach the framework CSS and JavaScript files:
<link rel="stylesheet" href="framework/framework.min.css" type="text/css" />
<link rel="stylesheet" href="framework/highlight.min.css" type="text/css" />
<script src="framework/framework.min.js"></script>
<script src="framework/framework.icons.js"></script>
<script src="framework/highlight.min.js"></script>
Webknife supports modern browsers only. However, the framework will automatically warn users of old versions of Internet Explorer, providing a link with information on how to upgrade. Example:
curl -sL https://deb.nodesource.com/setup | sudo bash -
sudo apt-get install -y nodejscd src
npm installRun the gulp build script (gulpfile):
gulpWebknife uses SASS for CSS preprocessing. Styles and JavaScript can be extended by working with the file structure described below: